Xentara How-To: Using Xentara Dev Containers in VS community on windows


This document provides a step-by-step guide to using Xentara Dev Containers within Visual Studio Community on Windows. It covers the installation and configuration of necessary tools the Containers extension for Visual Studio. The guide aims to help developers set up a consistent development environment using containers, ensuring seamless integration and efficient project management. By following these instructions, users can leverage the benefits of Dev Containers for their Xentara projects.

Prerequisites
- Basic Computer Navigation: Understanding how to navigate directories, open applications, and manage files on a Windows operating system.
- Command Line Interface: Familiarity with opening and using the Command Prompt or PowerShell to execute basic commands.
- Programming Basics: Basic understanding of software development concepts and experience with a programming language, preferably C++.
- Docker Basics: Basic understanding of Docker, including how to pull images, run containers, and manage Docker environments.
Required Software
- Visual Studio Community
- Docker Desktop
Procedure
Step 1: Install extensions
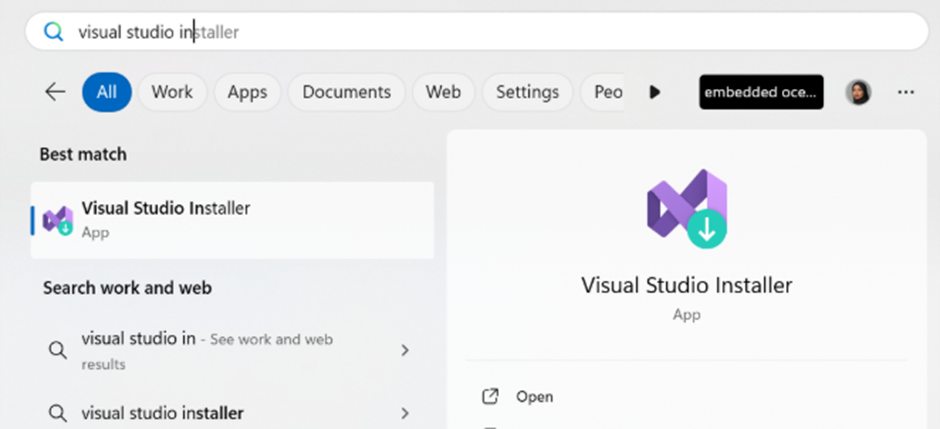
Type in the Windows search bar “Visual Studio installer” and start it.
Select Modify.

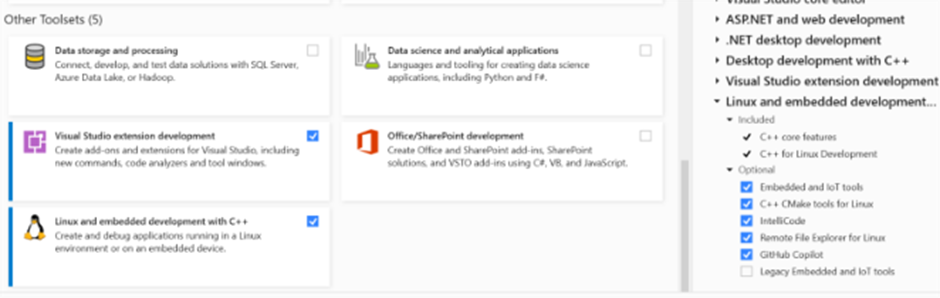
Now search for Linux and embedded development with C++ and activate it.
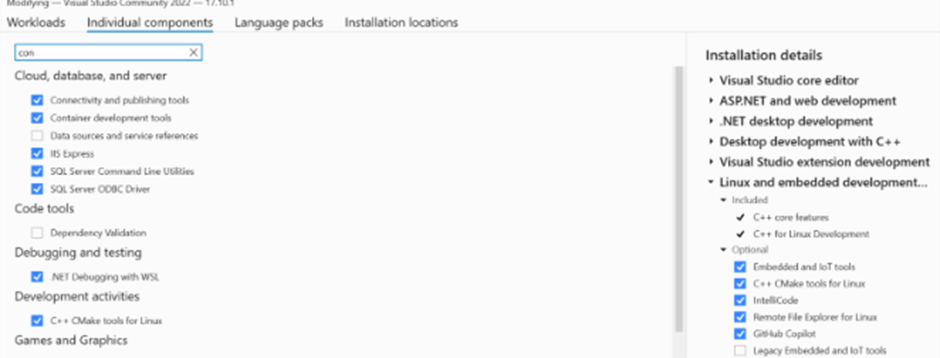
Then go to Individual components and search for Container development tools and activate it. Then click on install while downloading.
Step 2: Create the Development container
Copy the provided file ".decontainer.json" to the project directory (next to CMakeLists.txt)
Start your Docker Desktop and launch Visual Studio Community.
On the right side, right-click on the .devcontainer file and select “Start container on” -> “local machine”
It will start creating the container.
You can check the container with Docker Desktop.
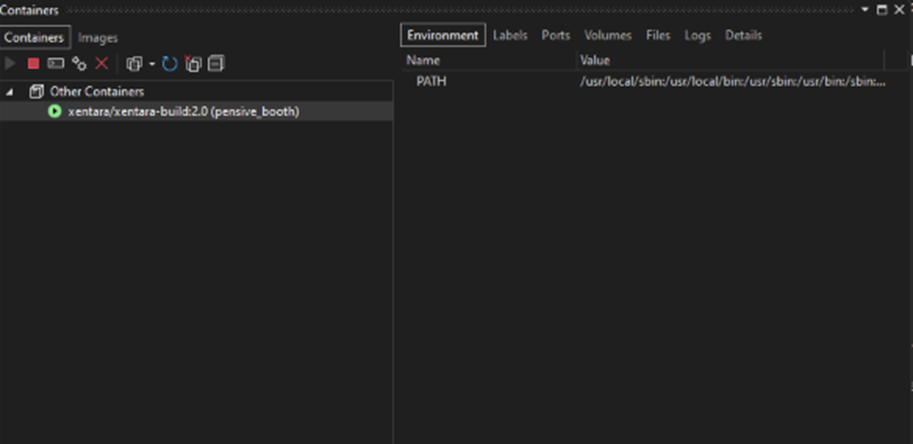
Or to check the container in Visual Studio Community, go to View, then Other Windows, and under Other Windows, Click on Containers.
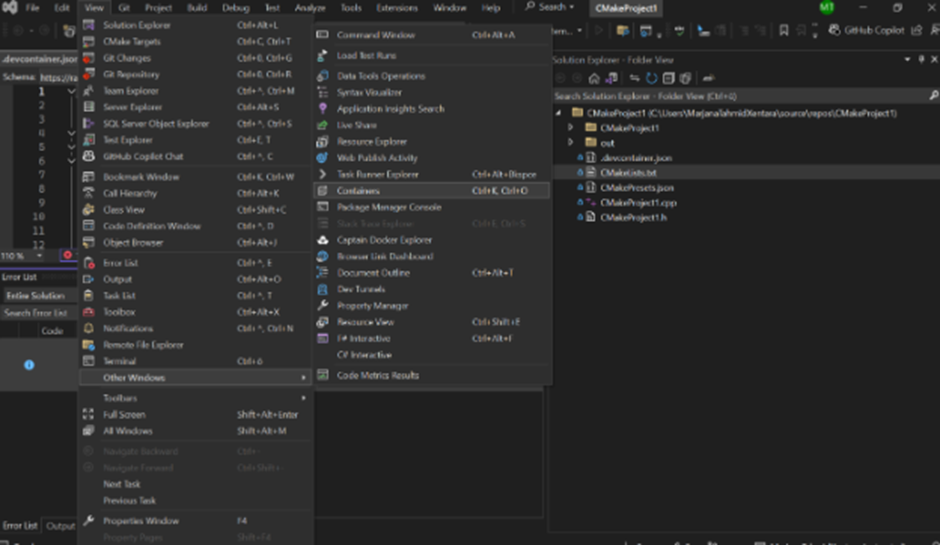
It will display the available containers.
Recommended Further Reading
For more information, visit Visual Studio Community
Share this article
If you found this article helpful, please share it with your friends!