Xentara How-To: Use Licensing Dashboard
This is a Tutorial on how to use Xentara’s Licensing Dashboard.

Intended Audience
Xentara users who require a license for production use.
Required Knowledge
Basic knowledge of Computers.
General Information
The Xentara Licensing Dashboard is a tool used to manage and activate licenses for Xentara software. This guide provides a step-by-step procedure to access, activate, and manage licenses efficiently.
System requirements
First, you need to install Xentara on your system. You can find the installation instructions at:
Install Xentara
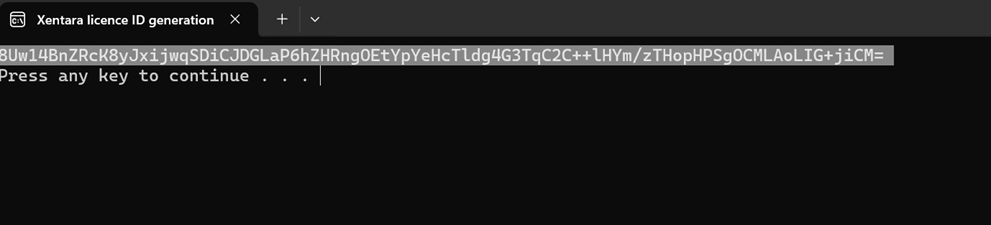
Once Xentara is installed, you must install the Xentara License ID Generation Tool, which generates a unique identifier for your system. This unique identifier is required to activate the Xentara license on your system.![]()
Procedure
Step 1
To register for the customer portal, visit https://eog-customer-info/login 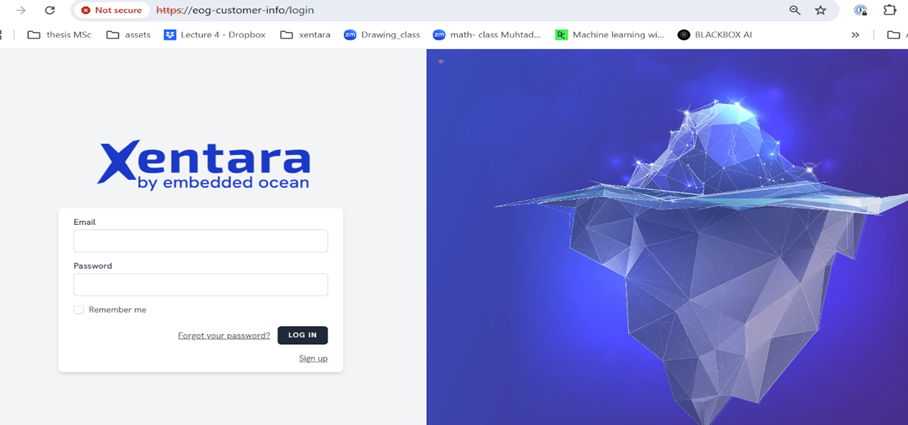
Step 2
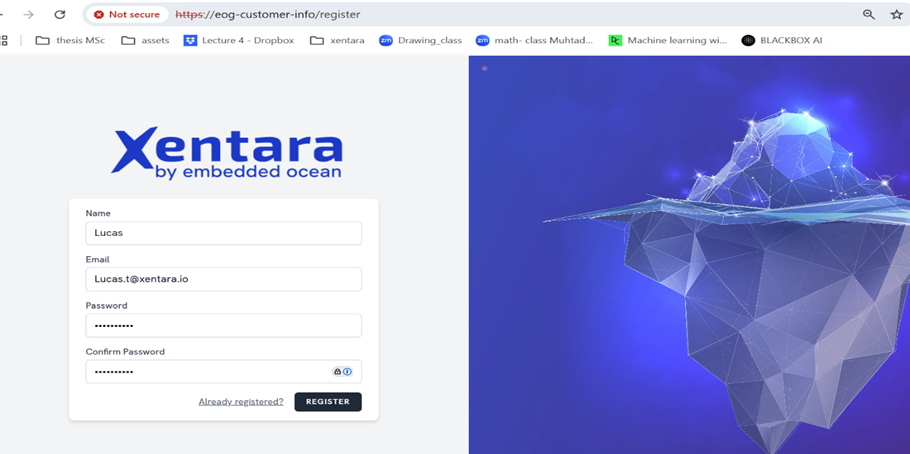
Click the Sign Up button, which will redirect you to https://eog-customer-info/register.
Fill in the required fields and click Register to complete the process.
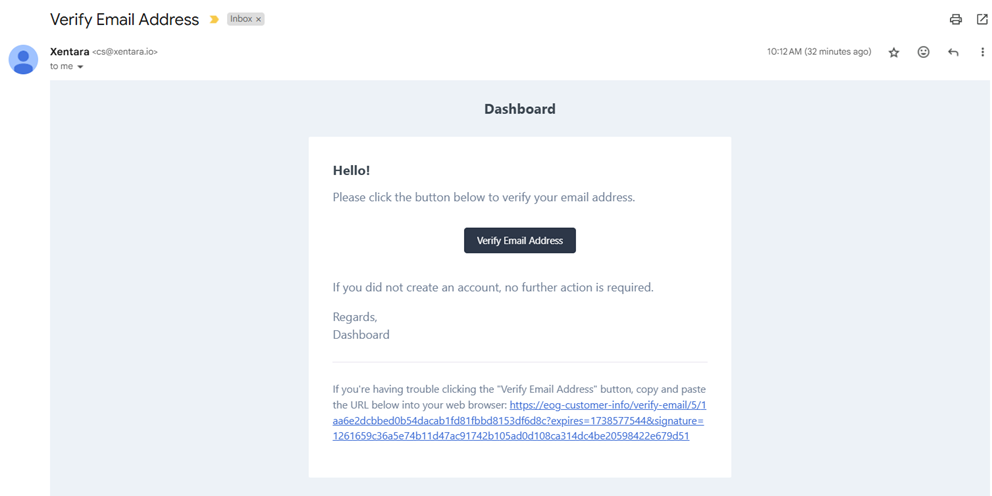
Step 3
You will receive a confirmation email. Click the "Verify" button to complete the process, and you will be redirected to the login page.
Step 4
Log in using your credentials. You will be prompted to enter a One-Time Password (OTP) sent to your registered email address. Check your email, enter the OTP, and complete the verification process. Once verified, you will be redirected to the customer dashboard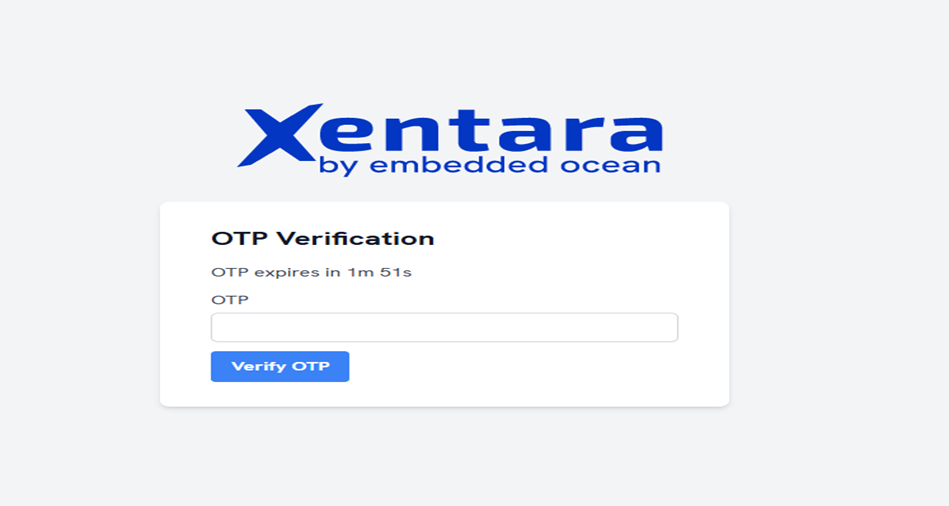
Step 5
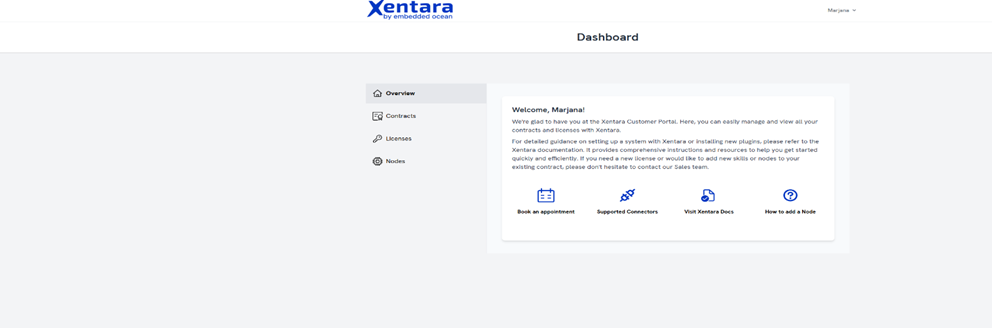
On the overview page, you will find details on how to add a node, information about Xentara connectors, and options to book an appointment with us.
Step 6
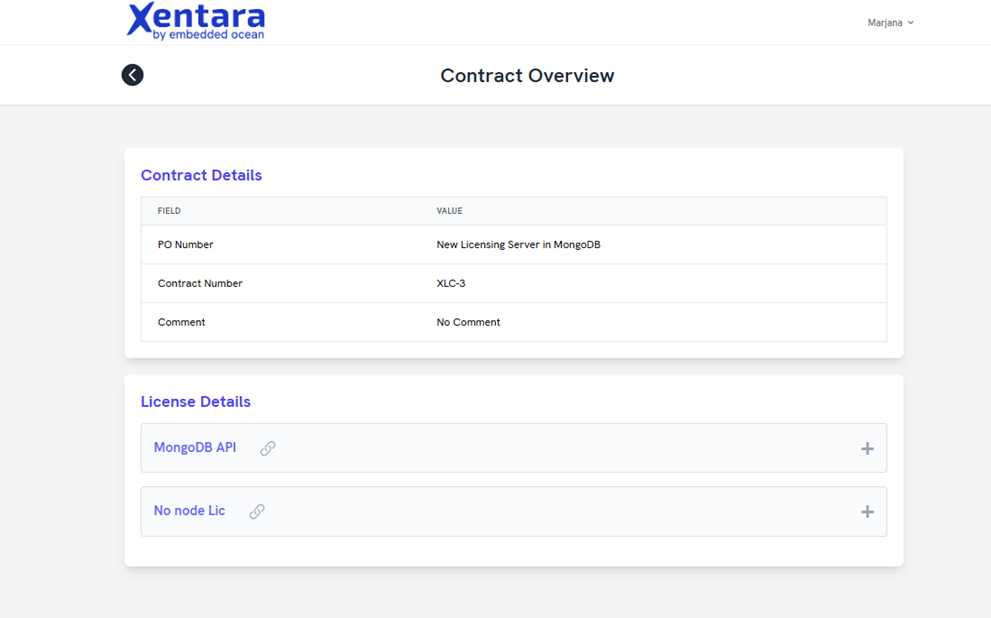
In the Contracts section, you will find the contract number, purchase details, and an overview of your assigned licenses.
Step 7
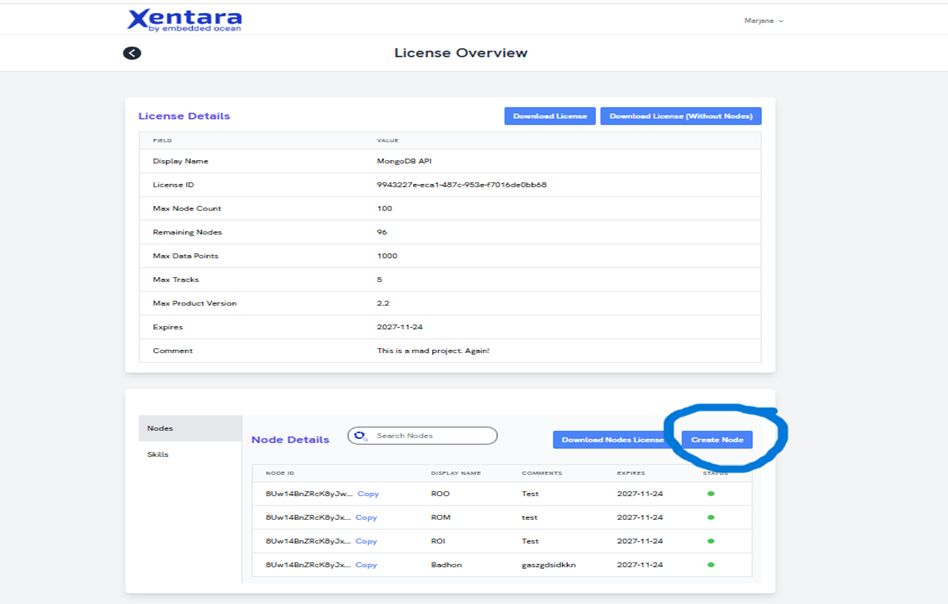
To add a node, navigate to the Licenses section of the Dashboard and select the license to which you want to add a node.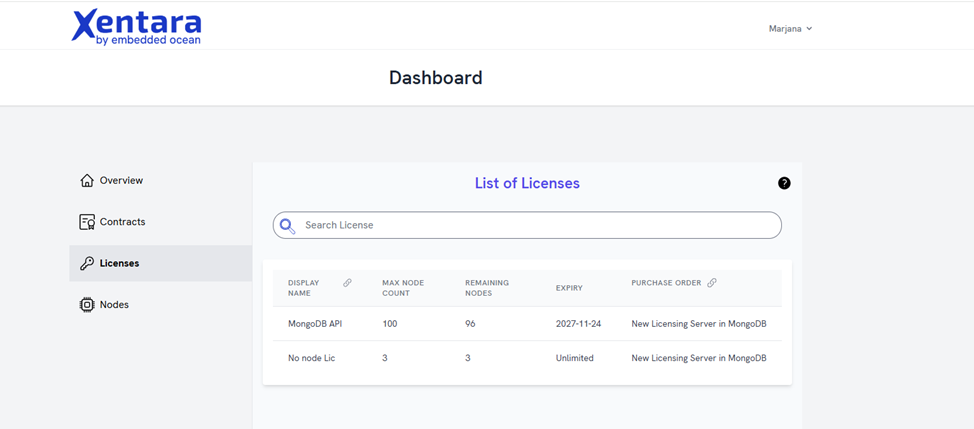
Step 8
In the License Overview section, locate and click on the Create Node option.
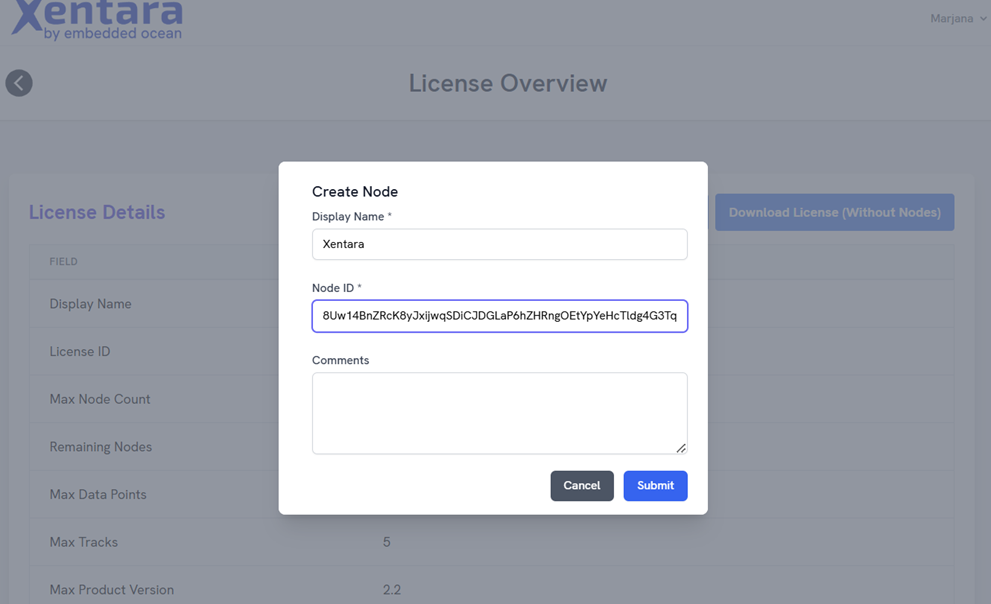
Step 9
Enter the Display Name, copy the Node ID from the Xentara License ID Generation Tool, and click the Submit button. This will add the node, and you can find it in the Node Details section.
Checking the Skills
To view the skills assigned to your license file, navigate to the Skills section.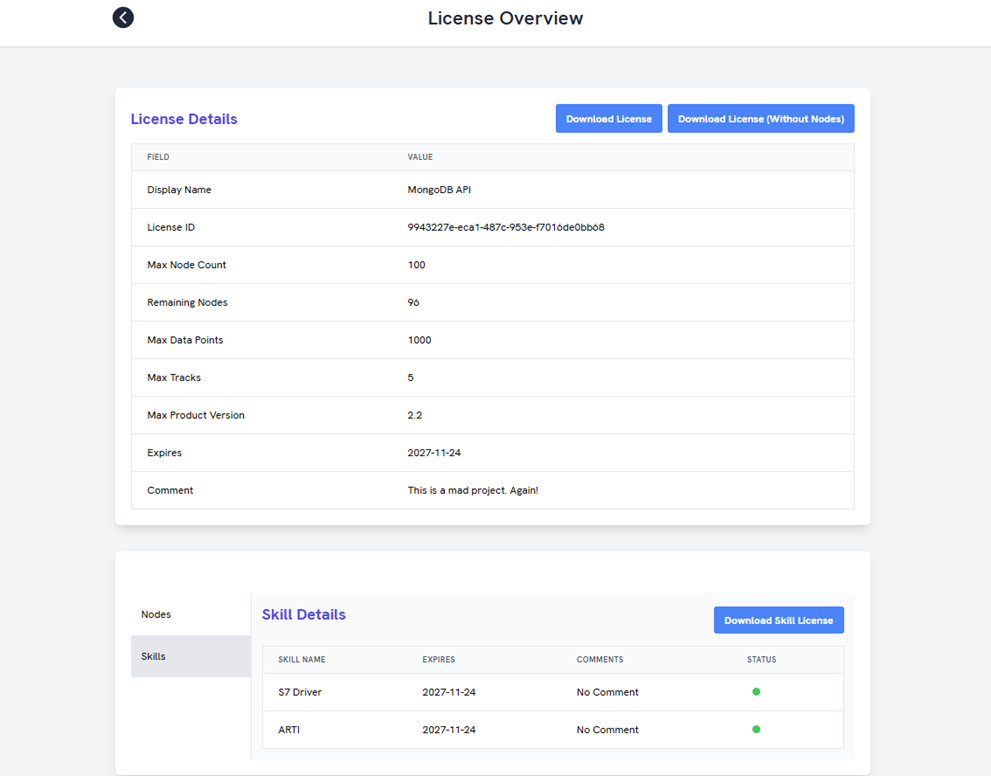
Download License
There are three different ways to download Xentara’s license, each accessible through individual buttons in the License Overview section:
- Download License (Without Nodes) – Downloads the license without any nodes.
- Download Only the Skill License – Downloads only the skill-specific license.
- Download License with Nodes and Skills – Downloads the complete license, including both nodes and skills.
Recommended Further Reading
For more information about Xentara’s licensing system, visit Xentara Documentation or contact our customer service team.
Share this article
If you found this article helpful, please share it with your friends!