


What's in the Image
- The Xentara runtime with the full set of Skills: EtherCAT driver, OPC UA server and client, Modbus RTU/TCP, Siemens S7, MQTT, InfluxDB client, Eclipse 4diac, FMU driver, Webservice, Microservices, timing measurement and more.
- Xentara Inspector: a web interface for live model browsing.
- A sample model with synthetic signal generators (pulse, sine wave, triangle, saw-tooth, noise), so you have something to look at the moment everything is running.
- Multi-architecture builds for
linux/amd64,linux/arm64. Dockerpullsthe right one for your host automatically.
What's not included: a licence. Since the docker image is the same fpor everyone, it can not include a personalized license. A free trial is available at try.xentara.io. We'll show you how to get it as part of the setup.
Install Docker
Go to the command line and enter the following command: docker --version. If it replies with a version number, Docker is already installed and you can skip this section. If not, follow the appropriate guide for your operating system:
Pull the Image
Copy the following command and run it:
docker run -d -p 8080:8080 -p 19670:19670 --name xentara-starter-kit xentara/xentara-starter-kit
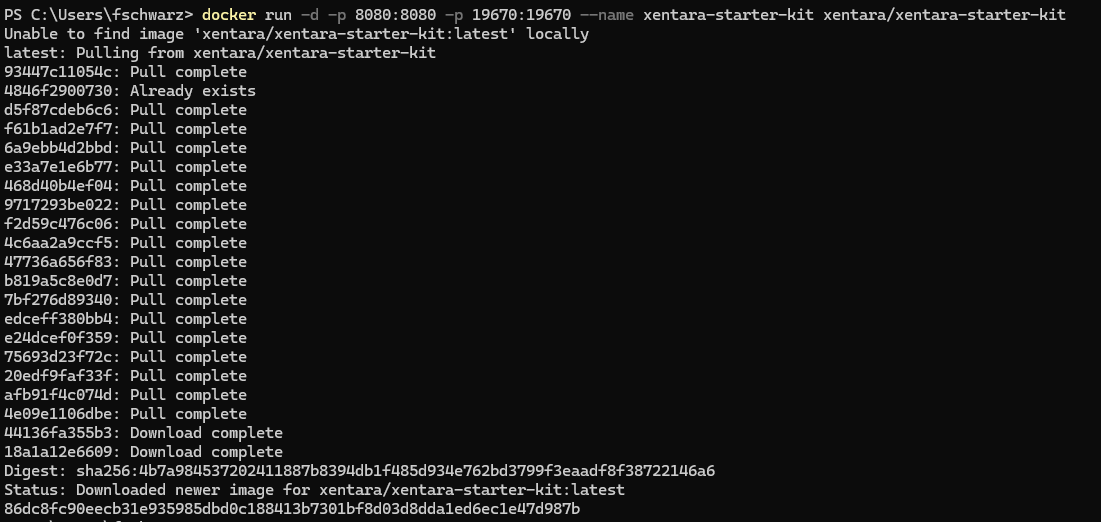
This downloads the architecture variant matching your host and exposes the needed ports to your system. You should see an output like this:
Check if the docker is running
To check if the Docker framework is up and running, use this command:
docker psYou should see xentara-starter-kit running with port 8080 and 19670 exposed. That means the container is up. Xentara itself however isn't yet running as it can't start without a valid licence.

Get Inside the Container
Run the following command:
docker exec -it xentara-starter-kit /bin/bashYou're now inside the container as the xentara user.

Discover the Licence Requirement
Inside the container, run:
xentaraXentara will report that no licence is installed and print a URL containing your machine's unique node ID.
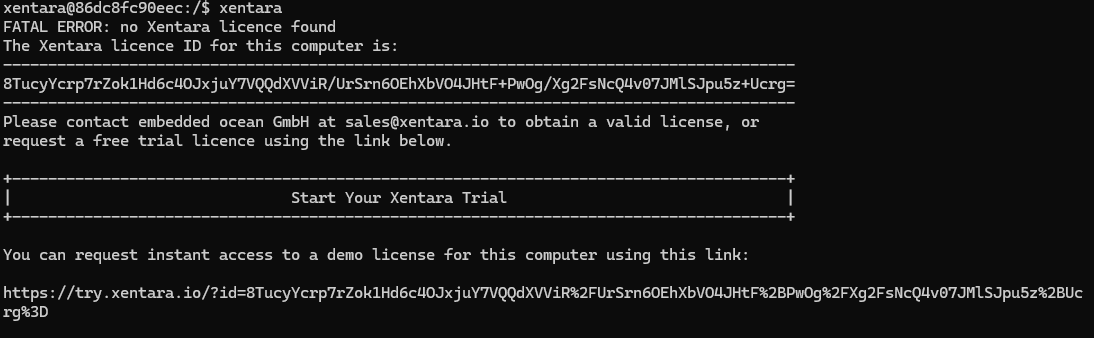
Copy the link Xentara has provided.
Request a Trial Licence
Open the URL you just copied in a browser on any device. You'll land on the Xentara Trial website.
- If you don't have an account, register with your email.
- If you already have one, sign in - you'll get a secure login link by email.
Verify your email and follow the login link to reach the Trial Nodes dashboard. Click Add New Node and your machine's node ID (which Xentara printed above) is automatically detected and added to your trial.
Deploy the Licence
On the Trial Nodes page, click Copy License.
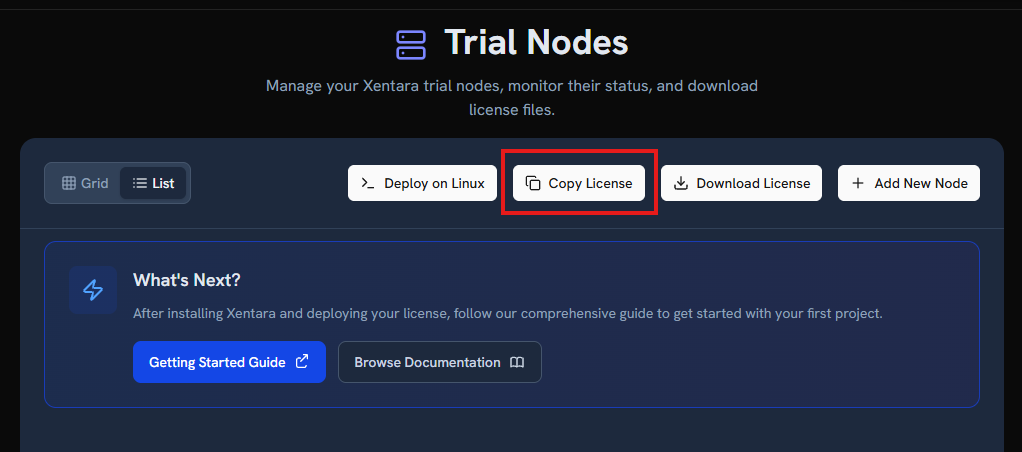
Go back to the command line inside the container and run the command below. Replace <paste your license here> with the license you copied, then press Enter.
cat > /home/xentara/.local/share/xentara/licence/licences.json << 'EOF'
<paste your license here>
EOF
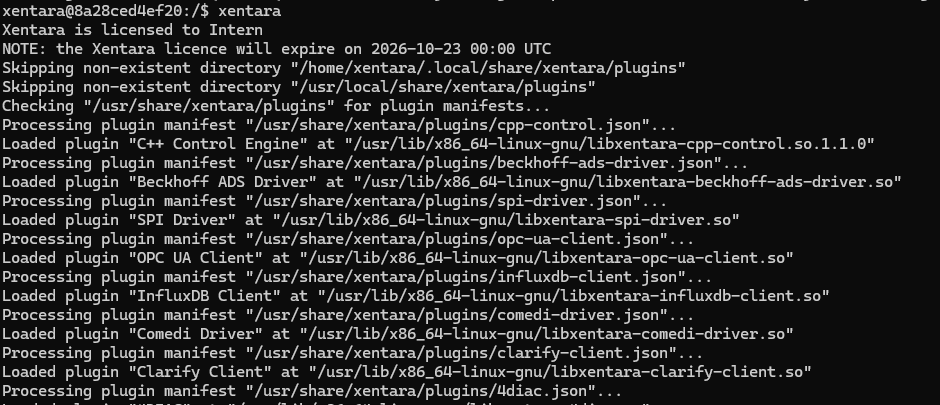
Now run Xentara again:
xentara
This time you'll see startup messages : plugin loading and the timer pipeline firing. Xentara is now up and running.
Set a Password for Xentara
The Xentara Websocket uses basic authentication, and the image doesn't ship with usable credentials. You need to set one before the Inspector can connect.
While still inside the container, enter and run:
xentara-password --dont-reject-insecure-passwords xentaraYou'll be prompted to set a new password for the xentara user. The --dont-reject-insecure-passwords flag lets you choose a short or simple password for testing purposes - do not use this flag in production.
Exit the container:
exit
Now restart the container:
docker restart xentara-starter-kitLaunching the Inspector
The command to run the Xentara Inspector is:
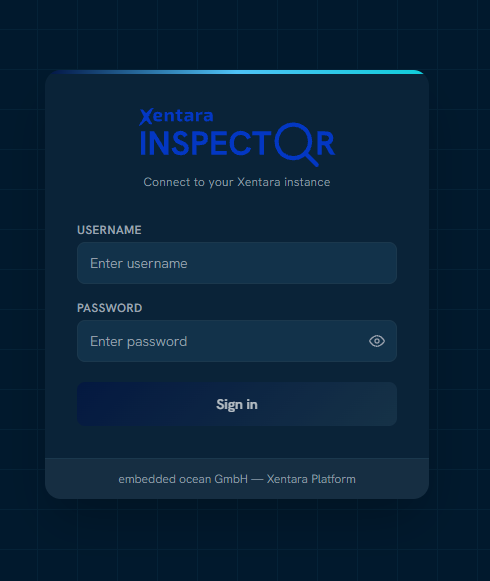
For credentials use xentara as username and the password you set up before.
Drill into Semantic Sampler to see the synthetic signal generators (Pulse, Sine Wave, Triangle, Saw-Tooth, etc.). Each has a value and quality attribute updating in real time, driven by Xentara's timer.
Conclusions
The Inspector is just one way to interact with Xentara WebSocket. The same WebSocket API powers HMIs, dashboards, and any custom client you build on top.